How to Install Smart Doorbell: Ready to make your home smarter and more secure? Installing a smart doorbell is a simple yet powerful upgrade. This guide walks you through mounting the device, connecting it to Wi-Fi, and syncing it with your smartphone. Enjoy real-time alerts, two-way audio, and enhanced home safety in just a few steps.
Imagine seeing who’s at your door from anywhere, getting instant alerts, and even talking to visitors without opening the door. Sounds great, right? In this guide, you’ll discover simple steps to install your smart doorbell quickly and without stress. By the end, you’ll have the confidence to upgrade your home security in no time.
Keep reading to find out how!
Choosing The Right Smart Doorbell
Choosing the right smart doorbell matters a lot. It affects how well it works with your home and your needs. Picking one with the right features, fitting your budget, and matching your home system makes installation easier and use better.
Features To Consider
Think about video quality. Clear video helps you see visitors well. Two-way audio lets you talk to people at your door. Motion detection alerts you to movement nearby. Some models offer night vision for low light. Check if it stores video in the cloud or locally.
Compatibility With Existing Systems
Check if the doorbell works with your current door chime. Some smart doorbells need a specific voltage. Make sure it fits your home’s Wi-Fi network. Look at support for smart home devices like Alexa or Google Home. This helps with easy control and alerts.
Budget And Brand Options
Decide how much you want to spend. Basic models cost less but may have fewer features. Popular brands often provide better support and updates. Read reviews about reliability and customer service. A good balance between price and quality is key.

Credit: www.digitaltrends.com
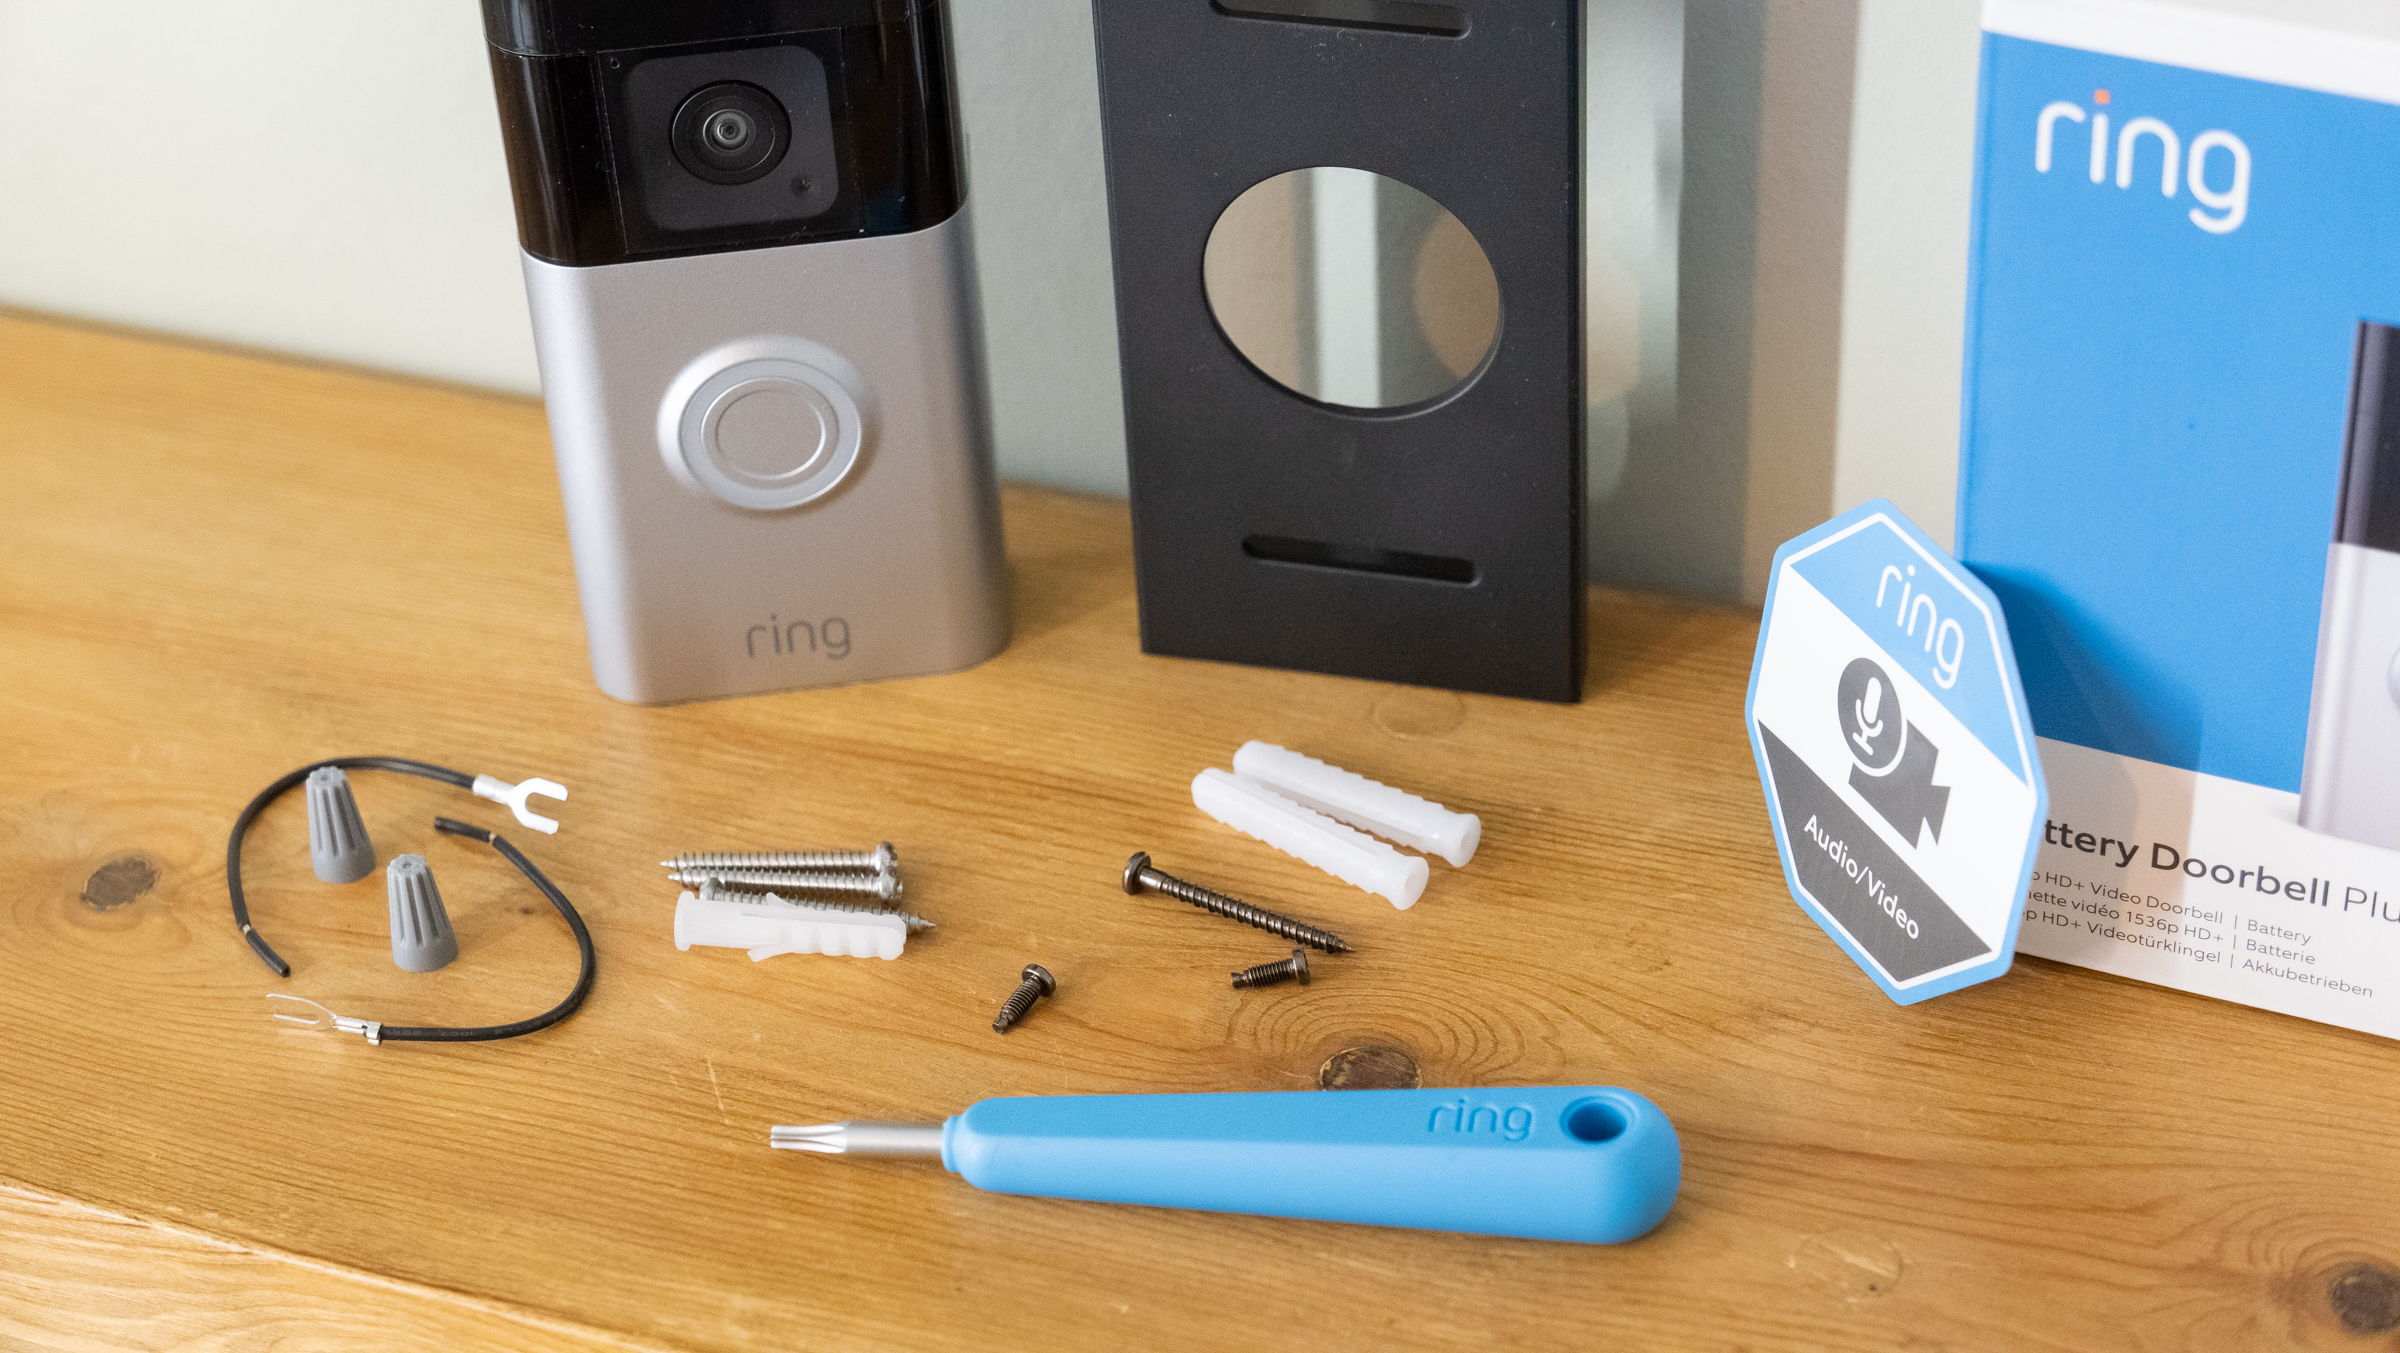
Tools And Materials Needed
Installing a smart doorbell requires some basic tools and materials. Having everything ready makes the process smooth and fast. You do not want to stop midway because of missing parts.
This section lists the essential tools and some optional accessories. These will help you set up your smart doorbell easily and securely.
Essential Installation Tools
- Electric drill with drill bits
- Screwdriver (Phillips and flathead)
- Level tool to ensure straight mounting
- Wire stripper for electrical connections
- Measuring tape for precise placement
- Voltage tester to check power supply
- Pencil or marker to mark drill spots
- Anchor plugs and screws (usually included)
Optional Accessories
- Extension wires for longer cable runs
- Weatherproof sealant for outdoor protection
- Mounting brackets for angled installation
- Battery backup for power outages
- Smartphone app for device setup and control
- Wire connectors for secure wiring
Credit: www.techradar.com
Preparing The Installation Site
Preparing the installation site is the first step to a smooth smart doorbell setup. It helps avoid problems later and ensures the doorbell works well. Take time to pick the right spot, check existing wiring, and test your Wi-Fi. This preparation makes the installation faster and easier.
Selecting The Best Location
Choose a spot near your front door but out of direct sunlight. The doorbell camera needs a clear view of visitors. Avoid placing it too high or too low. Make sure it is easy to reach for installation and maintenance. The location should also protect the device from rain and wind.
Checking Doorbell Wiring
Look for existing doorbell wires if your device needs power. Turn off the power before touching any wires. Check that wires are not damaged or loose. Use a voltage tester to confirm power is available. If no wires exist, consider a battery-powered doorbell instead.
Ensuring Wi-fi Coverage
Smart doorbells need a strong Wi-Fi signal to work well. Test the Wi-Fi strength near the chosen location. Use a smartphone or Wi-Fi app to check signal bars. If the signal is weak, move your router closer or use a Wi-Fi extender. A good connection helps video and alerts work smoothly.
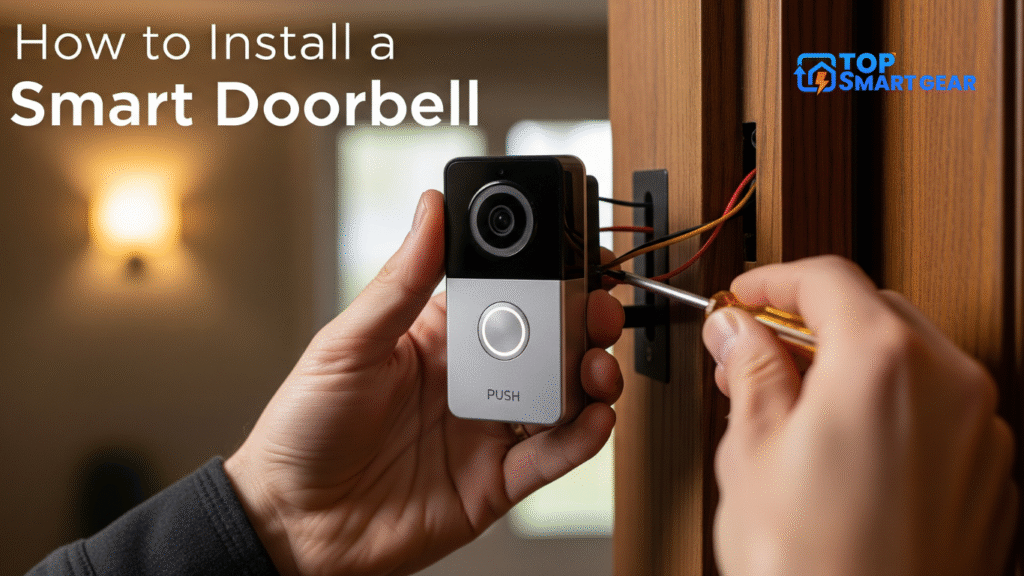
How to Install Smart Doorbell: Step-by-step Guide
Installing a smart doorbell is easier than many think. Follow this step-by-step guide to complete the process safely and correctly. Each step helps ensure the device works well and lasts long. Take your time and check every detail carefully.
Power Off And Safety Measures
Start by turning off the power to the doorbell circuit at the breaker box. This step prevents electrical shocks during installation. Use a voltage tester to confirm no power flows to the wires. Wear gloves and avoid touching wires directly for extra safety.
Removing The Old Doorbell
Remove the cover of the old doorbell carefully. Unscrew the mounting screws and gently pull the device away from the wall. Disconnect the wires from the terminals. Keep the wires exposed and ready for the new installation.
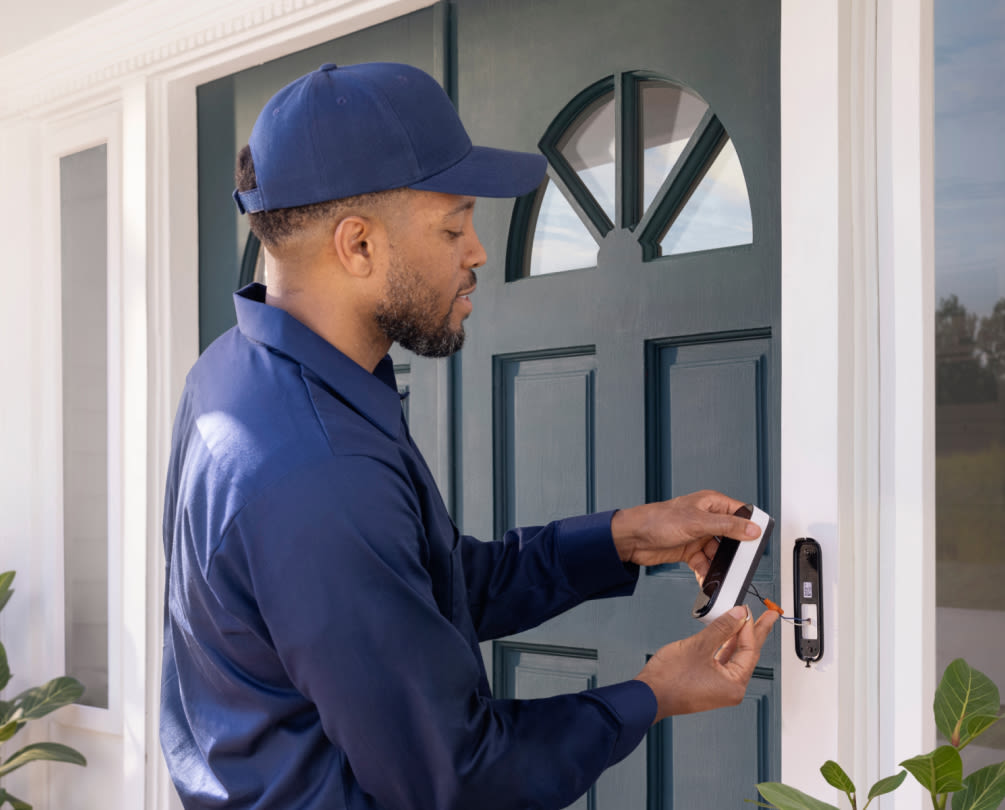
Mounting The Smart Doorbell
Choose the mounting location close to the old doorbell spot. Align the smart doorbell bracket and mark screw holes with a pencil. Use a drill to make holes if needed. Attach the mounting bracket firmly with screws for a stable base.
Connecting Wires Or Using Battery Power
For wired models, connect the existing wires to the smart doorbell terminals. Match the wires’ colors with the instructions carefully. For battery-powered devices, insert the batteries as directed. Ensure the battery compartment is closed tightly to prevent moisture.
Securing The Device
Attach the smart doorbell to the mounting bracket. Press or screw it into place according to the model. Check the device is stable and does not wobble. Restore power at the breaker and test the doorbell to confirm it works perfectly.
Setting Up The Smart Doorbell App
Setting up the smart doorbell app is the next step after installing your device. This app connects your doorbell to your phone. It lets you see who is at the door and receive alerts instantly.
Follow simple steps to get the app ready. You will download it, link it to your doorbell, and adjust settings for your needs. Each step helps you make the most of your smart doorbell.
Downloading And Installing The App
Find the app in your phone’s app store. Search by the doorbell brand name. Tap the download button and wait for it to install. Open the app once the installation finishes. Create an account or log in if you already have one.
Pairing The Doorbell With Your Phone
Turn on your doorbell and keep it near your phone. Follow the app instructions to connect the doorbell. Usually, it involves scanning a QR code or entering a code from the doorbell. Wait a few moments until the phone confirms the connection.
Configuring Notifications And Settings
Open the app settings to customize alerts. Turn on notifications to get instant updates. Choose sounds and vibration for alerts. Set privacy options and video preferences. Adjust settings to suit your daily routine and security needs.
Testing And Troubleshooting
Testing and troubleshooting your smart doorbell is key to ensure it works well. This step helps catch problems early. It also improves your device’s performance and security. Follow simple checks to keep your doorbell running smoothly.
Checking Video And Audio Quality
Start by viewing the live video feed on your phone. Check the picture for clarity and brightness. Listen to the audio for clear sound without static. Test the two-way talk feature to confirm you hear visitors. Adjust settings in the app if the video or sound is poor.
Adjusting Motion Detection
Test the motion sensor by walking near the doorbell. Check if it sends alerts to your phone quickly. Change the sensitivity level in the app to reduce false alarms. Set activity zones to focus on important areas only. This helps avoid notifications from passing cars or animals.
Resolving Common Issues
Reset the doorbell if it stops responding or freezes. Ensure your Wi-Fi signal is strong near the device. Update the doorbell’s firmware to fix bugs and add features. Clear the app cache if it crashes or lags. Contact support if problems continue after basic fixes.
Enhancing Security Features
Enhancing the security features of your smart doorbell adds great value to your home safety. It goes beyond just seeing who is at the door. Modern smart doorbells offer several options to keep your home secure and connected. These features make it easier to monitor your property from anywhere. They also help you respond quickly to visitors or potential threats.
Integrating With Smart Home Systems
Smart doorbells work well with many smart home devices. You can connect them to your security cameras, lights, and alarms. This integration creates a complete security network. For example, lights can turn on automatically when someone approaches. You can also receive notifications on your phone or smart speaker. This setup improves your awareness and control over home security.
Using Cloud Storage And Alerts
Cloud storage lets you save video recordings safely online. This means you can watch footage anytime from your phone or computer. Many smart doorbells send instant alerts for motion or rings. These alerts keep you informed about activity around your door. Cloud storage also protects videos from being lost or damaged. It offers peace of mind knowing your recordings are secure.
Maintaining Privacy And Data Security
Privacy is very important with smart doorbells. Choose devices that use strong encryption to protect your data. Make sure the manufacturer has a good reputation for security. Regularly update your doorbell’s software to fix any security issues. Avoid sharing your access codes or passwords. Taking these steps keeps your personal information safe.
Credit: www.ecobee.com
Frequently Asked Questions
What Tools Are Needed To Install A Smart Doorbell?
You need a screwdriver, drill, level, and a smartphone. A stable Wi-Fi connection is also essential for setup and operation.
How Do I Connect My Smart Doorbell To Wi-fi?
Open the doorbell app and follow the setup instructions. Select your Wi-Fi network and enter the password to connect.
Can I Install A Smart Doorbell Without Professional Help?
Yes, most smart doorbells come with easy-to-follow instructions. Basic tools and a bit of DIY knowledge are sufficient for installation.
How Long Does It Take To Install A Smart Doorbell?
Installation typically takes 20 to 40 minutes. Setup time depends on mounting location and Wi-Fi configuration.
Conclusion
How to Install Smart Doorbell: Installing a smart doorbell is quick and easy. Follow step-by-step instructions to mount the device, connect it to your Wi-Fi, and sync with your smartphone. Once installed, test all features to ensure smooth operation. Stay connected with visitors anytime, from anywhere, and enjoy enhanced home security and convenience.
A smart doorbell makes your life easier and safer. Now, you can welcome guests with confidence and peace.