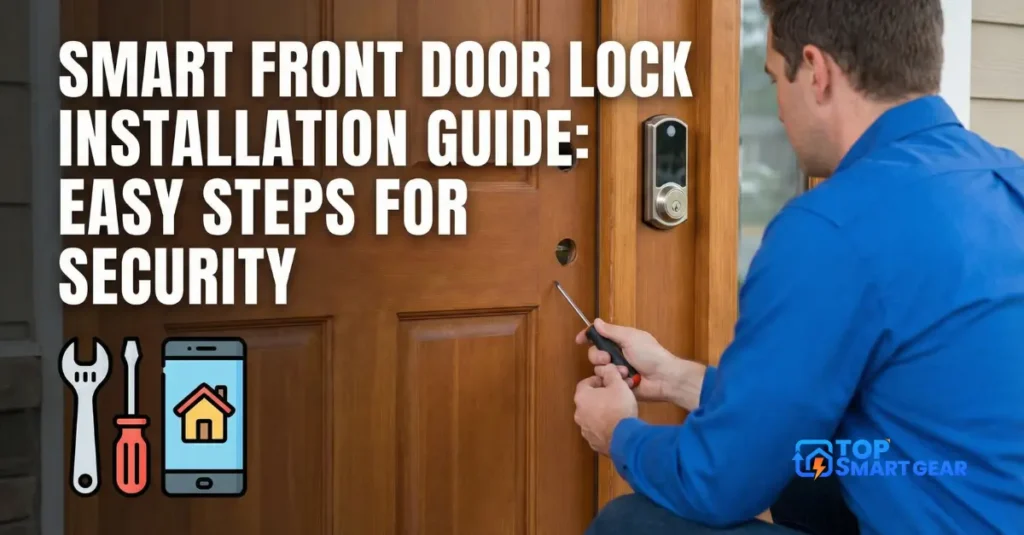
Quick answer on Smart Front Door Lock Installation: most smart locks install in about 30 minutes with just a screwdriver. Check your door measurements first. Then remove the old deadbolt (or, for a retrofit lock, just the inside thumb-turn), fit the new parts in the same holes, and finish setup and calibration in the app. No drilling is needed on a standard US door.
How we put this guide together: written by Paban Bhuyan for TopSmartGear, based on Schlage, Yale, August and Aqara installation guides. Always follow your lock’s own manual. This is a research-based guide, not a hands-on test. Sources include the Connectivity Standards Alliance’s Matter overview. Read how we review.
What you need
- Your smart lock and its included screws and template
- A Phillips screwdriver (a drill makes it faster, but go gently)
- A tape measure
- Batteries (usually included) and the lock’s app on your phone
Step 1: check your door
- Backset: distance from the door edge to the center of the deadbolt hole, usually 2-3/8 or 2-3/4 inches. Most locks fit both.
- Door thickness: usually 1-3/8 to 1-3/4 inches; check your lock’s supported range.
- Bolt alignment: with the door closed, the bolt should slide in and out without rubbing. If it sticks, adjust the strike plate first, or the smart lock’s motor will struggle.
Step 2: remove the old lock
Full replacement lock (Schlage, Yale, Wyze): unscrew the inside thumb-turn, pull off both halves, then remove the bolt from the door edge. Retrofit lock (August, Aqara U200): remove only the inside thumb-turn; the outside cylinder and bolt stay.
Step 3: install the new lock
- Insert the new bolt with the correct side facing up, as marked.
- Fit the outside keypad or cylinder, feeding its cable through the bolt hole.
- Attach the inside mounting plate and connect the cable.
- Fit the inside unit and tighten all screws snugly, not overly tight.
- Insert the batteries.
Step 4: set up and calibrate
- Add the lock in its app and connect it to Wi-Fi, Bluetooth or Matter.
- Run the calibration or door-handing setup so the lock knows which way to turn.
- Test locking and unlocking with the door open, then closed.
- Create your codes or fingerprints, turn on auto-lock, and add it to Alexa, Google or Apple Home.
Common problems
- Lock jams or struggles: the bolt is rubbing the strike plate; adjust or file the strike plate opening.
- Lock turns the wrong way: redo the door-handing setup in the app.
- Drops offline: move your router or add a mesh node, or use a Wi-Fi bridge.
Still choosing? See our best smart locks, smart locks for renters and are smart locks safe?
Frequently asked questions
How long does it take to install a smart lock?
Most deadbolt swaps take under an hour with a screwdriver, if your door is already drilled for a standard deadbolt.
Do I need to drill new holes?
Usually not. Most smart deadbolts fit the standard holes in modern doors.
Why does my smart lock struggle to lock?
The bolt is probably rubbing on the strike plate. Adjust the door or strike so the bolt slides freely, which also saves battery.
What happens if the batteries die?
The app warns you first. Most models also have a backup, such as a physical key or emergency power terminals.